|
Additional Cooler
Space
Click any picture to expand
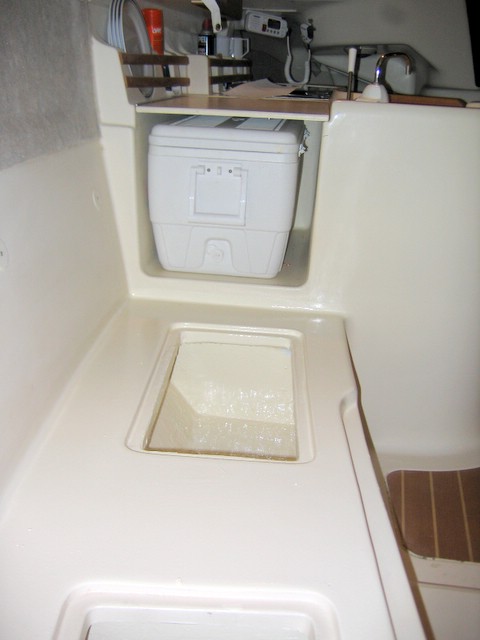
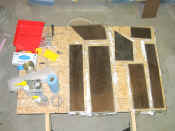
We need more cooler space in the Mistress. My
wife hauls all these coolers aboard and they get underfoot and are always
sliding around. There is a long starboard Lazerette just below the existing
portable cooler that we use for cans, bottles and other non-perishables. My idea
was to turn half of this space into an insulated cooler. This is the basic
plan:
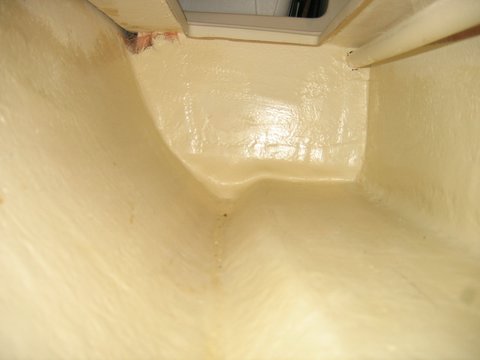
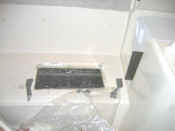
The space is next to existing cooler and was
about 90 quarts in volume before the insulation was installed. I planned on
about 1.5 in. insulation but ended up with over 3" in some places because
of the irregular shape of the space.
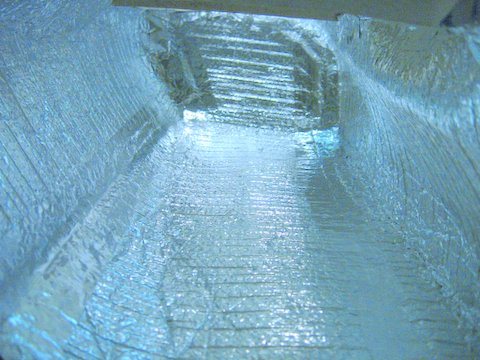
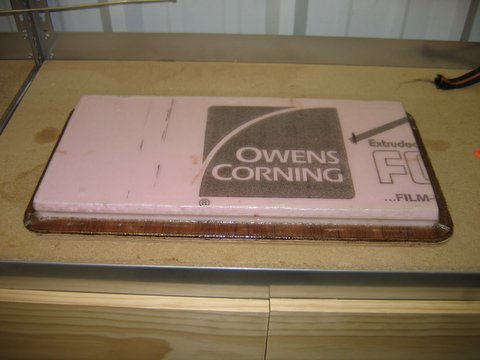
I glued a dam in the space using 3M5200 and lined
it with aluminum foil insulation. The aluminum tape used for the seams in the
insulation worked great.
Since the cooler sits directly on top of the
ballast tank and the hull forms one side of the cooler, it should be easy to
keep cool especially in Great Lakes waters which average in the mid 60's in
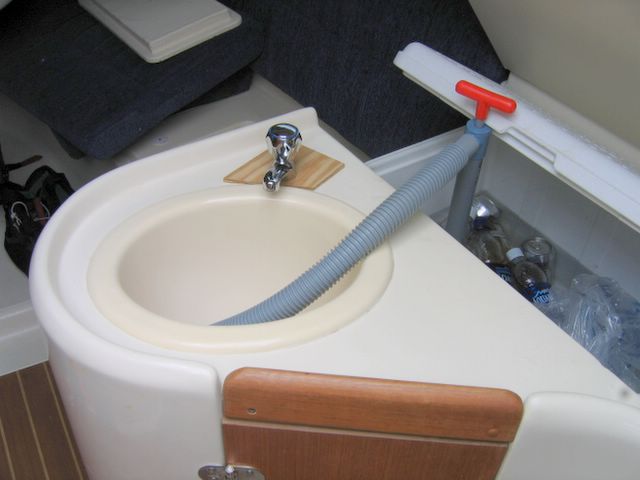
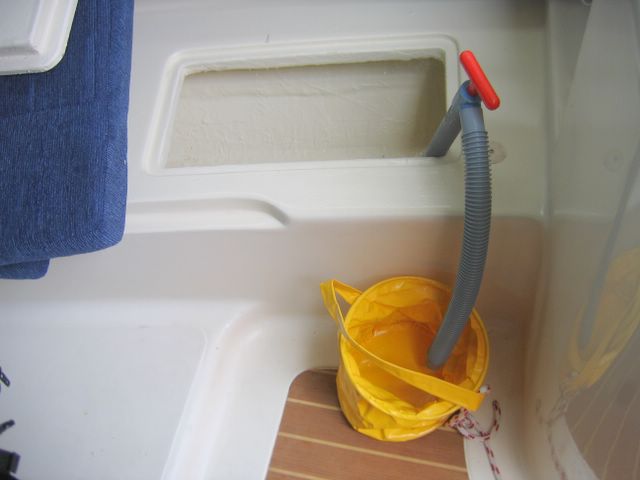
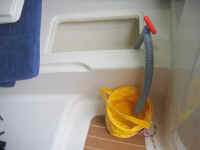
summer. I'll use a small hand bilge pump to evacuate the water.
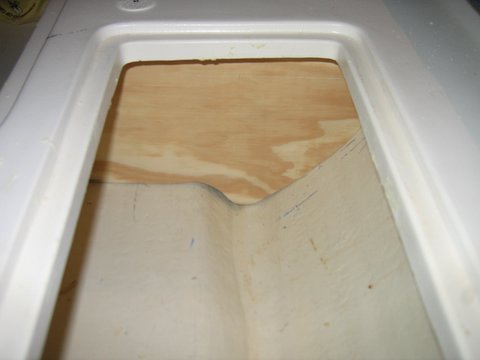
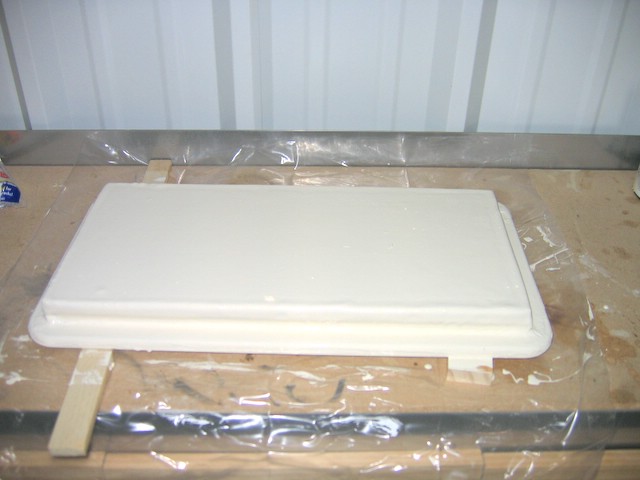
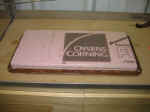
Added a layer of hardboard to add stiffness and cover the insulation with
fiberglass. Working with epoxy and fiberglass in this confined space was messy.
To make it easier, I glassed the sections of hardboard first, then glassed them
in place.
I estimate the un-insulated space is about 90
quarts in volume. However, because the insulation ended up being up to 3"
in some places, I'll end up with about 60 quarts of cooler space. Add that to
the existing 48 quart cooler for about 100 quarts of insulated cooler
space. Total cost for this project: $77.00. You would not notice that this
space was insulated unless you compared it to the one next to it. I doubled
the cooler space, but had hoped to triple it.
|
|
|

|
| Covered
individual pieces of hardboard with fiberglass |
Glassed the pieces in place. Worked well.
|
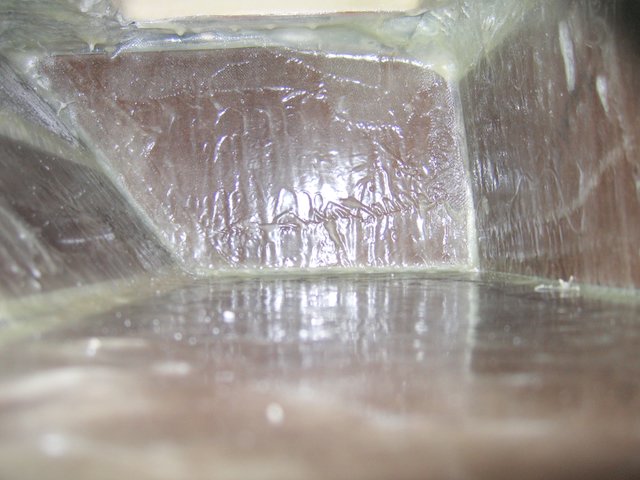
Not very pretty but watertight and strong
|
 Painted the whole
project with matching
paint. See notes on interior paint below |
Glassed Insulation to lid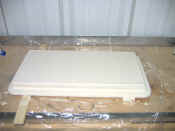
Painted Lid
|
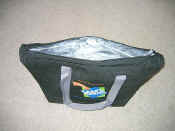
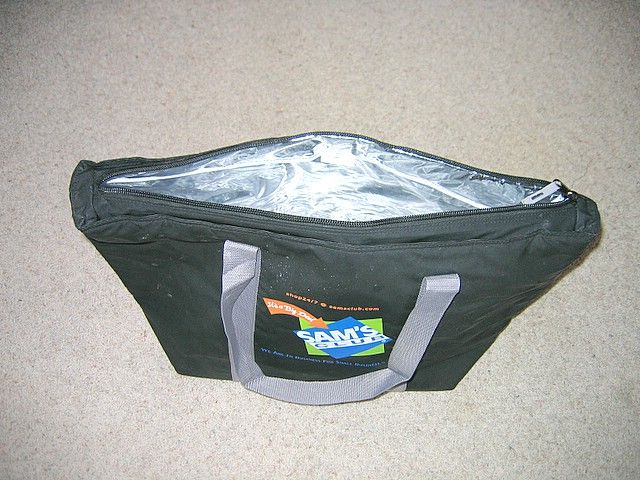
This flexible cooler is about 25 quarts. Maybe
stuffing a couple of these into the space would have worked just as well?
|
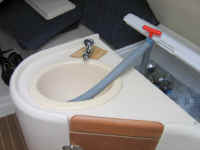 |
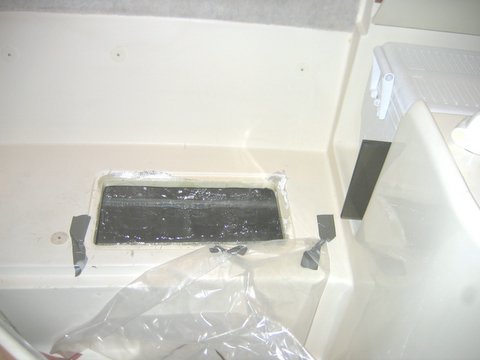
So how do you get the water out?
This is my best solution...
<------>
|
|
|
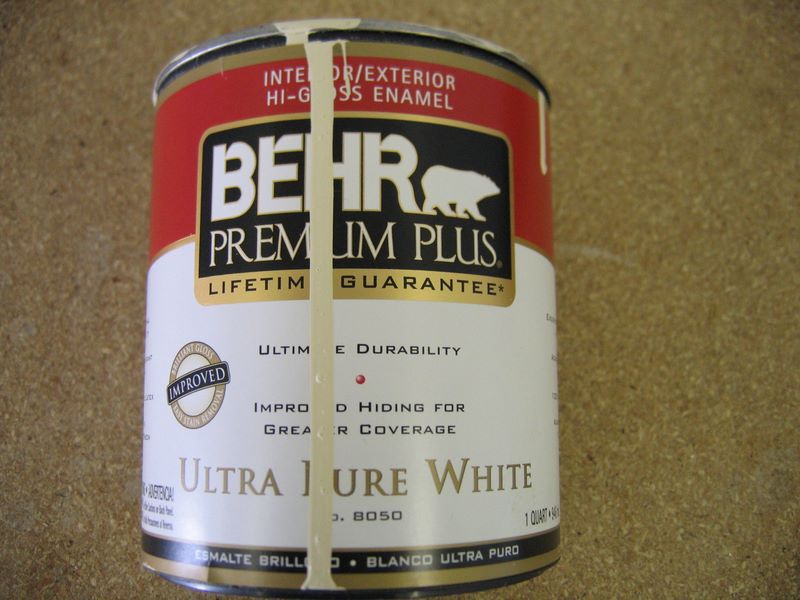
Messed up the area around the hole so had to touch it up. This is high gloss
paint - I took one of the locker lids to Home Depot and they matched it. Don't
use a brush with this paint unless you are a skillful painter. I used a small
white rubber type roller I found in the paint store, it does not leave marks. It
is very hard to see the difference between the old and the new paint. I'd check
the match before applying because paint colors fade and Hunter probably used
different batches. If you look carefully at the base of the wall and the top of
the locker there is a faint line. I only painted the top where I installed the
ice cooler and messed up the hole.
|
|
|